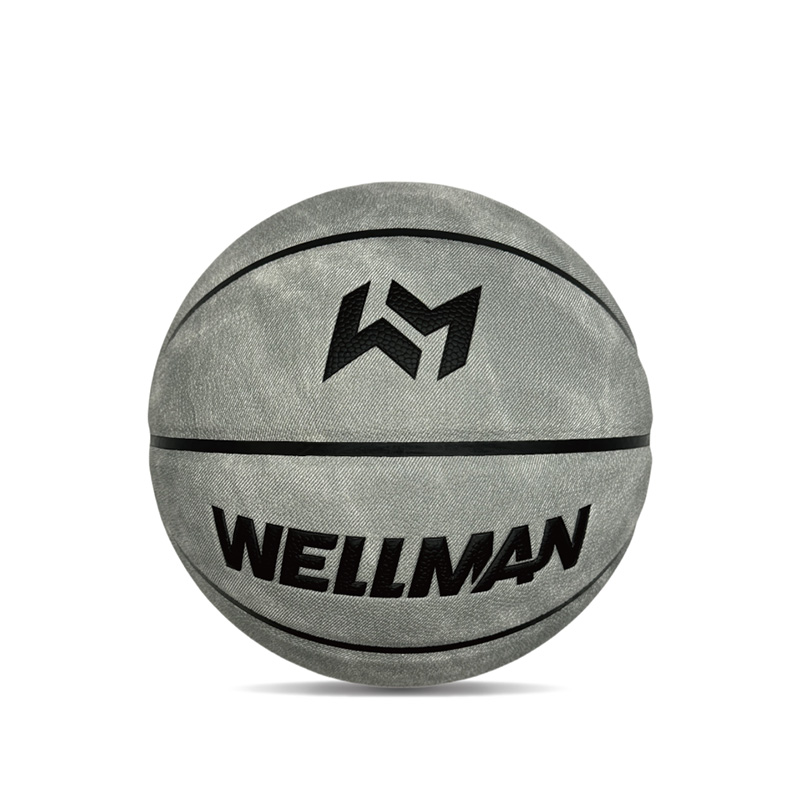
In the manufacturing of Leather Basketball and soccer balls, the bladder and inner bladder treatment are crucial aspects determining the ball’s elasticity, airtightness, and durability. From controlling the inflation pressure to the final gluing, every step requires precise control to ensure the finished product’s performance on the court. The following is a detailed process analysis:
1. Bladder Inflation and Pressure Standards: Precise Control Based on Temperature
Blood bladder inflation pressure needs to be adjusted according to the season. The core logic is the impact of the thermal expansion and contraction characteristics of gases on the ball’s performance:
Pressure Values:
Summer inflation pressure: 8 psi: High summer temperatures cause gas molecules to be more active. Excessive pressure can lead to over-expansion of the bladder, increasing the risk of bursting.
Winter inflation pressure: 9 psi: Low winter temperatures cause gas molecules to contract. Appropriately increasing the pressure ensures the ball’s elasticity and prevents insufficient pressure from affecting feel and bounce.
Key Operating Points:
Use a high-precision pressure gauge (error ≤ 0.2 psi) to ensure accurate inflation readings.
Basketball and soccer ball bladders have similar structures and universal pressure standards, but note that soccer ball bladders are larger, requiring slower inflation to avoid localized stress concentration.
2. Static Leak Detection: A 72-Hour Quality “Testing Period”
After inflation, the bladder must be left to stand for 72 hours. This extended observation period allows for the detection of airtightness defects, a crucial step in screening for defective products.
Detection Logic:
Minor leaks are difficult to detect in a short time. The 72-hour static period amplifies potential leaks (such as pressure drop or bladder deformation), ensuring that the bladder flowing into the next stage is “zero leak.”
Operation and Judgment:
The static environment must be kept at a constant temperature and humidity (temperature 20-25℃, humidity 50%-60%) to avoid environmental factors interfering with the test results.
After 72 hours, retest with a barometer. If the pressure drops by ≥0.5 lbs, or if the bladder shows localized collapse, it is judged as a leaking and unqualified product and must be discarded.
3. Trimming Rough Edges and Secondary Leakage Inspection: Details Determine Yield
Leakage problems may be caused by minor defects such as rough edges and pinholes. A dual approach of physical trimming and inspection is required:
Rough Edge Trimming:
Use a sharp trimming knife (such as a utility knife or a dedicated trimming tool) to trim any remaining rough edges and excess glue from the bladder production process, paying particular attention to the area around the air nozzle and seams, to prevent rough edges from piercing the bladder or affecting subsequent bonding.
Secondary Leakage Inspection:
For the trimmed bladder, use the soapy water test: Immerse the bladder in diluted soapy water (or spray it with soapy water). If continuous bubbles appear, it indicates a pinhole leak, and the ball is immediately deemed unqualified.

4. Bladder Sanding and Centerline Treatment: Preparing for Bonding
Sanding and centerline treatment prepare the ball for subsequent skin bonding, directly affecting the ball’s roundness and feel:
Blade Sanding:
Use 240-grit sandpaper to evenly sand the bladder surface, removing surface glue and burrs, increasing the bonding area between the bladder and the skin, and improving glue adhesion. For basketballs, focus on sanding the seam areas; for soccer balls, cover the entire bladder surface (due to the larger skin panels and higher bonding requirements for soccer balls).
Center Line Marking and Sanding:
Mark the center line position with a marker (two vertical lines for basketballs, a circumferential center line for soccer balls). Then, finely sand the center line area to ensure the center line is straight and symmetrical during subsequent lamination, guaranteeing consistency in the ball’s appearance and performance.
5. Inner Bladder Cleaning and Gluing: The “Final Step” Before Bonding
Inner Bladder Gluing:
Use neoprene adhesive (suitable for leather and rubber inner bladders) and apply it evenly to the inner bladder surface, controlling the thickness to 0.1-0.2mm. For basketballs, focus on the seams and center line area; for soccer balls, apply glue evenly across the entire surface to ensure a tight bond between each piece of skin.
Summary
Inflation, pressure testing, edge trimming, sanding and cleaning, and gluing—each step is the “cornerstone” of basketball and soccer ball quality. “Seasonalized pressure control” ensures elasticity, “72-hour resting + soapy water testing” prevents air leakage risks, and “meticulous polishing + even glue application” enhances adhesion strength. Only by perfecting these details can each ball have stable bounce, precise trajectory and long lifespan on the court, safeguarding the sports experience.


 English
 русский
 Español
 Deutsch
 عربى
عربى 中文简体
中文简体

