English
 русский
 Español
 Deutsch
 عربى
عربى 中文简体
中文简体
Content
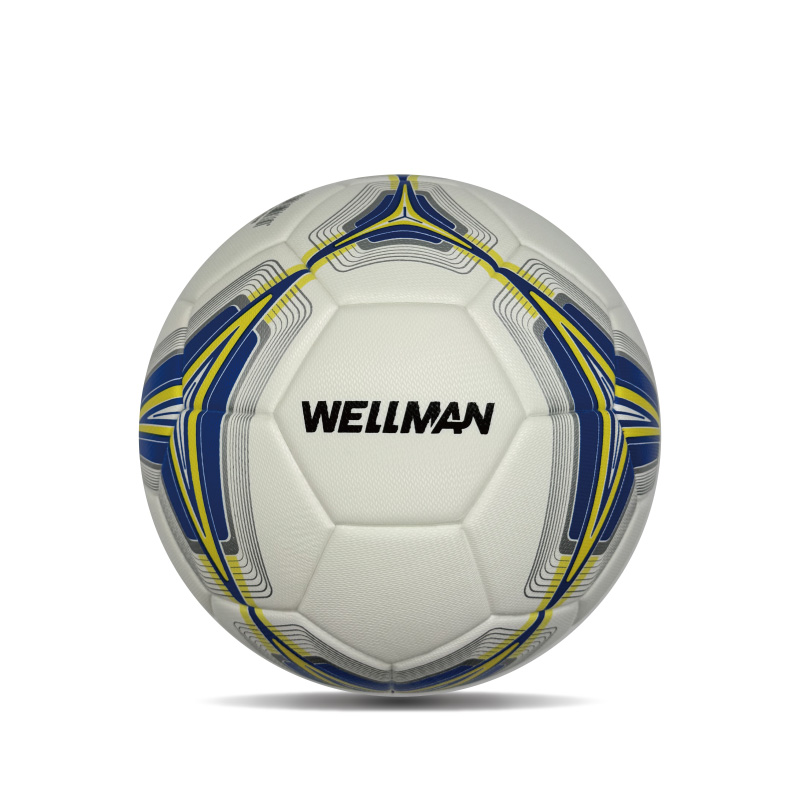
A well-maintained soccer ball is a joy to play with. It has consistent flight, a predictable bounce, and feels right at your feet. If your ball is made from Polyurethane (PU) leather—the premium material used on most high-performance match balls—proper cleaning is essential not just for its appearance, but for its longevity and performance.
Unlike natural leather or cheaper PVC materials, PU leather is prized for its soft touch, water resistance, and durability. However, harsh chemicals and improper techniques can break down its protective coatings, make it brittle, or damage the seams.
Understanding Your PU Leather Soccer Ball
Before you start cleaning, it’s helpful to know what you’re working with. PU leather is a synthetic material made by applying a polyurethane coating to a base material, often polyester. This creates a surface that is:
- Durable: Resistant to abrasion and wear from kicks and hard ground.
- Water-Resistant: Sheds water better than natural leather, preventing waterlogging.
- Consistent: Provides a uniform surface for better control and flight.
The key to cleaning is to preserve this polyurethane layer. Abrasive scrubbing, harsh solvents, and excessive heat are its biggest enemies.
The Essential Cleaning Supplies You’ll Need
Gathering the right tools is half the battle. You likely have most of these at home already.
- Soft Cloths or Microfiber Towels: These are crucial. Avoid any rough materials like scrub brushes or paper towels, which can cause micro-scratches.
- Lukewarm Water: Never use hot water, as it can damage the PU coating and the glue holding the panels together.
- Mild Soap: A drop of dish soap (like Dawn or Ivory) is perfect. Avoid soaps with moisturizers, heavy fragrances, or degreasers. Never use harsh chemicals like bleach, ammonia, window cleaner, or abrasive cleaning sprays.
- A Soft-Bristled Brush (Optional): A very soft toothbrush or a dedicated soft-bristled cleaning brush can be used gently on stubborn dirt lodged in the seams.
- A Gentle, Airy Location: You’ll need a place to let the ball air dry, away from direct sunlight or heat sources.
The Step-by-Step Cleaning Process
Follow these steps methodically for a thorough and safe clean.
Step 1: The Preliminary Dry Wipe
Never start with a wet ball. First, take a dry microfiber cloth and thoroughly wipe the entire surface of the ball. This removes loose dirt, dust, sand, and debris. Removing this grit first is vital because if you add water now, you risk grinding these particles into the PU surface, creating scratches.
Step 2: Prepare Your Gentle Cleaning Solution
In a small bowl, mix a cup of lukewarm water with just 2-3 drops of mild dish soap. You do not need a lot of soap. The goal is to create a mild, slightly sudsy solution. Over-soaping can leave a residue that is difficult to rinse off completely.
Step 3: The Wash - A Gentle Approach
Dampen your second soft cloth in the soapy solution and wring it out thoroughly. You want the cloth to be damp, not dripping wet. Gently wipe the ball in a circular motion, focusing on one panel at a time. Pay extra attention to heavily soiled areas, but let the damp cloth and mild soap do the work—do not apply heavy pressure.
- For Seams and Stitching: If dirt is caked in the seams, you can use your soft-bristled brush. Dampen the brush in the soapy solution, shake off excess water, and gently work along the seams. The goal is to dislodge the dirt, not to scrub the stitching away.
Step 4: The Thorough Rinse
This is a step many people skip, but it’s critical. Take a clean cloth, dampen it with plain lukewarm water (no soap), and wring it well. Wipe down the entire ball to rinse off any soapy residue. Soap left on the ball can attract more dirt over time and may degrade the material. You may need to rinse your cloth a few times to ensure all soap is removed.
Step 5: The Final Dry - Patience is Key
Use a dry, clean microfiber towel to pat the ball dry, absorbing as much surface moisture as possible.
Now, for the most important part: air drying. Place the ball in a well-ventilated room at room temperature. To ensure it dries evenly and doesn’t develop a flat spot, do not let it sit on one side for too period. The best practice is to place it in a bowl or a ring (like a spare bicycle tire) so air can circulate around the entire surface.
What to Absolutely Avoid During Drying:
- Direct Sunlight: UV rays will break down the PU material, causing it to fade, become sticky, or crack.
- Radiators/Heaters: Intense, direct heat will warp the panels and weaken the internal bladder.
- Hair Dryers: The concentrated heat is damaging.
- Putting it away damp: This can lead to mildew and a permanently damaged, musty-smelling ball.
Tackling Specific Stains and Situations
Mud: Let the mud dry completely first. Once dry, you can often flex the ball and brush off most of the caked-on mud with your hands or a dry cloth. Then, follow the standard washing steps above for any remaining residue.
Grass and Turf Marks: These are usually the easiest to clean. The standard soap-and-water method is almost always effective on grass stains.
Scuff Marks (From Pavement or Artificial Turf): For light scuffs, a gentle eraser (a white vinyl stationery eraser works best) can sometimes lift the mark without liquids. For more persistent rubber scuffs, apply a tiny amount of isopropyl alcohol (rubbing alcohol) to a microfiber cloth and gently dab at the mark. Test this on an inconspicuous area first, and do not rub aggressively.
Preventative Care: Keeping Your Ball Cleaner for Longer
The best cleaning is the one you don’t have to do. Incorporate these habits to extend the life of your PU leather ball.
- Match the Ball to the Surface: Use your high-quality PU ball on grass for matches and serious training. Use a more durable, cheaper ball for concrete, asphalt, or gravel.
- Post-Use Wipe-Down: After every use, especially on wet grass, give the ball a quick wipe with a dry cloth. This takes 30 seconds but prevents dirt from setting.
- Proper Inflation: Keep your ball inflated to the manufacturer’s recommended pressure (usually printed on the ball, e.g., 8-12 PSI). An under-inflated ball is more prone to panel damage and absorbs more moisture and dirt.
- Correct Storage: Store your ball in a cool, dry place away from direct sunlight. Avoid leaving it in a hot car trunk or a damp garage.
Conclusion
Cleaning a PU leather soccer ball isn’t about harsh chemicals or vigorous scrubbing. It’s a gentle process that respects the material’s qualities. By using simple, mild supplies and following a methodical routine of dry-wiping, gentle washing, thorough rinsing, and patient air-drying, you can keep your ball looking and performing like new for many seasons. A little regular care protects your investment and ensures the beautiful game feels just as it should.